How To Test A Solar Panel After Installation
Solar panels are one of the best investments you can make for your home. They lower energy bills, increase independence from the grid, and help create a cleaner future.
Once your system is installed, though, you want to know it’s working exactly the way it should. That’s where testing comes in. Learning how to test a solar panel after installation helps you catch issues before they become costly problems.
Many homeowners don’t realize there’s an issue until they open an inflated power bill. Panels can lose output over time due to weather, wiring issues, or faulty components. Regular testing gives you real numbers on how your system is performing, so you always know you’re getting the most out of your investment.
Why Is it Necessary to Learn How to Test a Solar Panel?
Every solar system comes with manufacturer ratings for voltage, current, and wattage. Still, real-world conditions may affect how panels perform. Roof pitch, seasonal weather, shading, and even dirt buildup can all reduce output. Without testing, it’s difficult to know if your system is producing close to what it should.
Solar panel testing gives you a clear picture of your system’s health. Voltage readings show whether each module is producing correctly. Current tests highlight parasitic draws or short circuits.
Wattage measurements confirm whether your array is putting out the power you expect. When performance drops, testing helps narrow down the cause. It may be a damaged panel, a failing inverter, or worn-out connectors.
Testing also plays a role in preventive maintenance. Like any equipment, solar systems benefit from regular checkups. You can take corrective action and avoid bigger repairs later by spotting performance drops early.
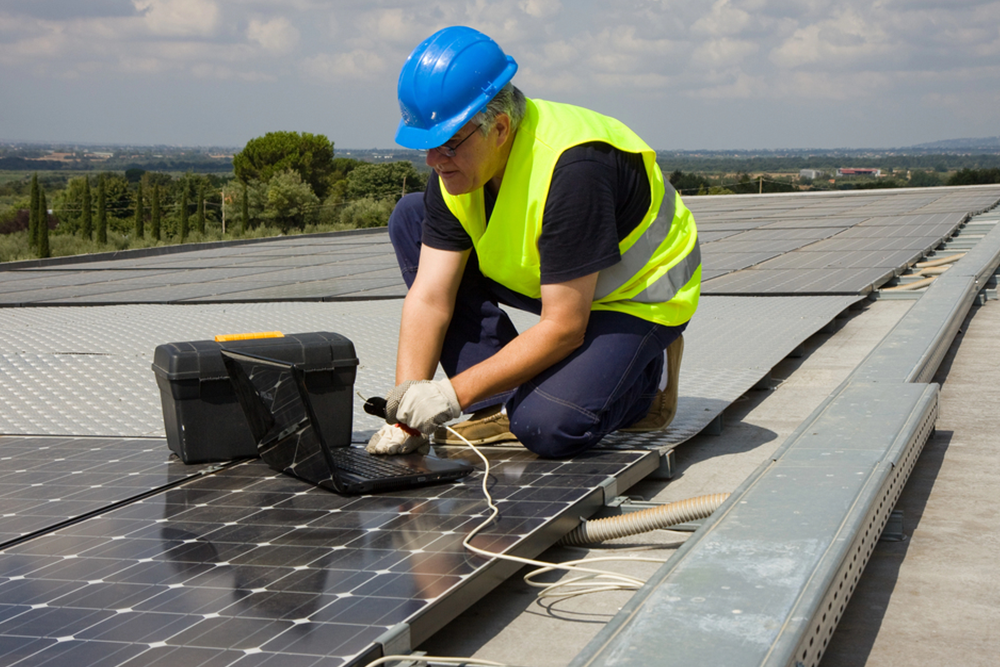
Testing with a Multimeter
The simplest and most common way to test panels is with a multimeter. A digital multimeter measures voltage, resistance, and current.
Start with voltage. Set the meter to DC voltage, connect the probes to the terminals of the panel, and expose the panel to full sunlight. The reading should be within about ten percent of the open-circuit voltage rating (Voc) printed on the back of the panel. If the reading is much lower, that panel may be dirty, shaded, or damaged.
Resistance testing comes next. Switch the meter to the ohms setting, connect the probes, and check the value. Low resistance means electricity is flowing freely. A high reading points to broken wiring or a damaged cell.
Finally, test the current. Set the meter to amps, connect the probes, and place the panel in sunlight. Compare the reading to the short-circuit current rating (Isc) on the label. A healthy panel will read close to that number. A much lower reading means the panel may have an internal fault or a wiring problem.
Expanding Solar Panel Testing with I-V Curve Tracers
Professionals use I-V curve tracers for an in-depth look. These devices record the current and voltage output across different operating points and generate a curve graph. A healthy panel creates a smooth curve that matches expected performance. Any irregularities highlight specific issues, from shading effects to cell degradation.
An I-V curve test requires additional equipment, like irradiance and temperature sensors. While it’s not something most homeowners do on their own, it’s valuable for technicians. It shows how the panel performs under perfect conditions and also how it reacts in partial shade or high heat. This level of detail helps identify panels that are underperforming even when they pass simple voltage or current checks.
Using Clamp Meters to Track Current
Another tool in the solar testing toolkit is the clamp meter. Unlike a multimeter, a clamp meter doesn’t need to disconnect wires to measure current. The clamp slips around a conductor and provides a real-time reading. This makes it easier to identify poor wiring connections, loose terminals, or corrosion between modules, the inverter, and the battery.
Even small wiring issues can cause large losses in system output. Testing with a clamp meter highlights those weak spots quickly so they can be repaired.
Measuring Watts with a Solar Charge Controller
If your system includes a solar charge controller, you can also monitor watts directly. Watts are calculated by multiplying volts by amps, and many controllers show the real-time output of your panels. Controllers also protect batteries by regulating flow, so they give a good picture of overall system performance. Some models even connect to smartphones, making it easy to track output without specialized equipment.
When wattage readings fall short of what’s expected, it’s usually a sign that cleaning, rewiring, or maintenance is needed.
Signs You Need to Test Your Solar Panels
Regular testing is smart, but sometimes problems appear suddenly. Warning signs that call for immediate testing include sudden drops in output, higher-than-normal electric bills, error messages on the inverter, or visible wiring damage. Even physical issues like a bent frame, cracked glass, or connectors that look worn out are reasons to run a test.
Panels are durable, but they live outdoors under constant exposure to extreme temperatures and weather shifts. A quick test confirms whether the system is performing properly or if you need to schedule maintenance.
Best Practices for Reliable Testing
Getting accurate test results depends on the conditions. Always test panels when they are clean, in full sunlight, and angled toward the sun. If readings seem low, repeat the test in better conditions before assuming there’s a fault. Testing at the same time of year and under similar sunlight conditions makes it easier to compare results over time.
Safety should never be overlooked. Testing involves live electrical equipment. Wear insulated gloves, inspect tools before use, and keep equipment dry. Never touch probe tips together, as this can create a short. If you encounter severe damage or suspect a serious fault, contact professionals rather than attempting repairs yourself.
Keeping Your Solar Investment At Its Best
Knowing how to test solar panels after installation gives you confidence that your system is working for you every day. From simple multimeter checks to advanced I-V curve analysis, testing uncovers weak panels, wiring faults, or inverter issues before they affect your energy bills.
Examining resistance, current, and wattage provides a comprehensive view of your system’s health. When you include components like inverters, connectors, and batteries in your routine checks, you create a solid foundation for long-term performance.
At Solar Energy Solutions of America, we take that same approach. Our solar electric installations and full range of solar services can help keep your panels performing optimally. Enjoy the savings and the freedom that solar power delivers today. Contact us now to protect your solar investment with our professional services.